

If you have a macOS device, and you want to install NordVPN App, you are at the right place to get it for your device.
As per my experience, there are so many different and easy ways to install NordVPN service on your macOS easily either via its app or website. You can read briefly about low-budget VPN. You can either directly install NordVPN on your macOS with the help of the NordVPN IKEv2 app from the App Store or you can do so by going to NordVPN’s website.
In this article, we will go through every question that you may have related to NordVPN and how to install it on macOS.

How to Use NordVPN on Macbook
There are two ways to install NordVPN on a Mac,
- Downloading the NordVPN IKEv2 program on macOS
- Setting up the NordVPN OpenVPN app on your Mac
Let’s explore the two options in detail.
Method 1: Install The NordVPN IKEv2 App On macOS
For Users who don’t know about macOS 10.12 and later versions are compatible with the IKEv2 NordVPN app. It makes use of the fast and dependable IKEv2/IPSec protocol, which doesn’t compromise privacy or security.
- Get this NordVPN membership offer first!
- Now search for “Nord VPN Download Mac” on another window and begin downloading it.
- You might need to allow permission to access the App Store depending on your browser’s settings. Give your permission or select “Open App Store.”
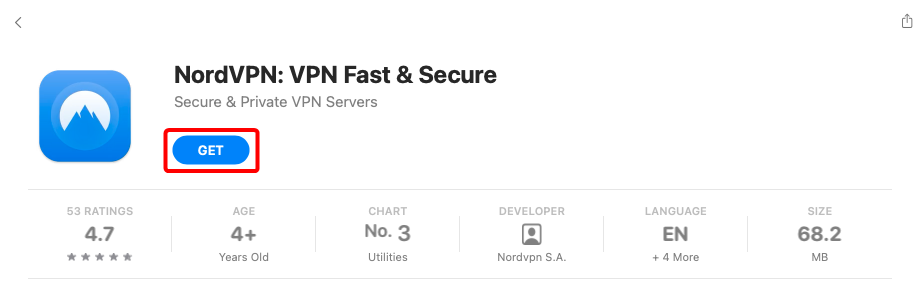
- The NordVPN app will open for you in the app store. To download it, click the “GET” button.
- The NordVPN for macOS will immediately download and install on your Mac as a result of the previous step. Then click OPEN to start it.
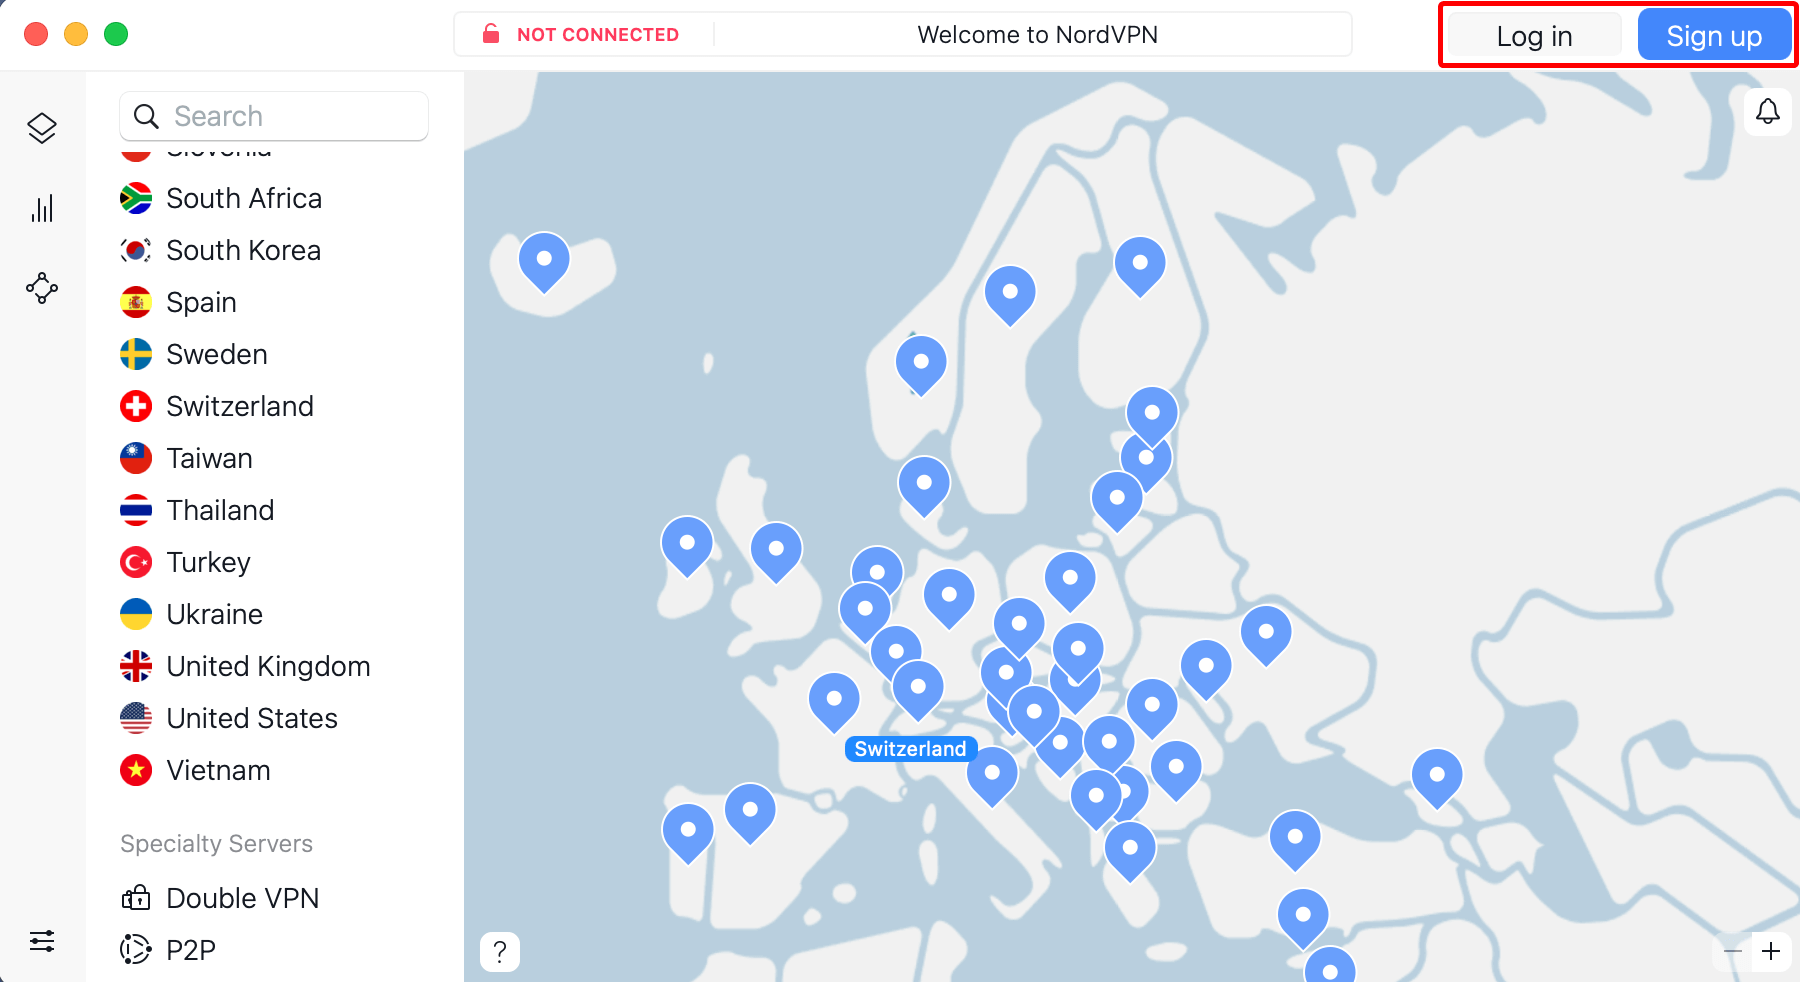
- You’ll be signed into the Mac version of the NordVPN app. To connect to the closest/quickest NordVPN server, select the Quick Connect button in the top right corner.
- A notification asking for permission to install VPN Configurations will be displayed by the app. Press “Allow.”
- The application will set up a connection with the closest server. To connect to the server, double-click the location if you have a preference. For instance, to view US Netflix, connect to a US location.
- You will see your status turning to CONNECTED. This means your connection is completely secure now.
This is how you download, set up, and use NordVPN on macOS
Method 2: Setting up NordVPN’s OpenVPN App On A Mac
Do you prefer the NordVPN OpenVPN app version? Here is how to set up and run it on a macOS device.
- Buy the NordVPN membership.
- Then download NordVPN’s OpenVPN version.
- Locate the file NordVPN.pkg in the Downloads folder from your Mac device. Just click it.
- A window will open asking for permission in order to install “Helper.” This is a tool that is there to build secure VPN tunnels. Type in your device’s password and press OK. or use your fingerprint.
- A new window will open with instructions for performing the installation. Click on Continue.
- Then, Press “Install.”
- A message will be displayed that will confirm that the application was installed successfully. You can close that window.
- In order to NordVPN, you should click on its icon.
- Enter your email and password to log in.
- When a window pop-up, click “Open NordVPN app” and then check the “Always allow nordaccount.com to open links of this type…” box.
- You will be redirected to your NordVPN dashboard.
- You can on the top right-hand side see a “Connect” button which will automatically connect your connection with a server that is recommended by the smart algorithm of NordVPN.
- You can also select the “Search…” field which is present at the top-left corner. Now enter the location or country you want. For example, connect to Canada.
- Now enjoy browsing the internet securely and safely.
Other Alternative VPN Services
Even Though NordVPN is the best VPN service provider out there, it doesn’t mean it might be the one for you. There are plenty of other VPNs out there that you should try before finding the perfect one.
- PureVPN: 2nd But Most Secure Service Provider @ [PureVPN_Price]
- SurfShark: Available on all MacBook Models @ [Surfshark_Price]
- CyberGhost: Compatible with above High Sierra (10.13) @ [CyberGhost_Price]
- PIA VPN: Optimized Servers for macOS @ [PIAVPN_Price]
While the IKEv2/IPSec version encrypts data at the IP level, the OpenVPN Mac app version employs SSL/TLS in order to secure data at the Transport level. Although it’s more difficult to set up, OpenVPN is a better choice if you’re up against firewalls. Similarly to that, it uses both the TCP and UDP protocols and can run on any port.
Therefore, if privacy is a concern for you, OpenVPN can shield you from the snoopers of ISPs, advertising companies, hackers, and law enforcement officials.
If your NordVPN is not connecting on your Mac, try these common problems and their fixes:
1- Look into Your Internet Connection. Before connecting to NordVPN, make sure your internet connection is functioning well. If not, restart your router and re-connect to your Ethernet cable or Wi-Fi network. Get in touch with your ISP if that doesn’t work.
2- Change servers. A crowded server might refuse new connections. It’s possible that switching servers will fix the issue.
3- Modify Protocols: NordVPN connectivity issues are there on certain Macs dur to software configurations. Try switching between multiple options. There are three available: NordLynx, OpenVPN(TCP), and OpenVPN(UDP). Since NordLynx provides the fastest connection speeds while keeping security, we recommend that.
4- Turn off your antivirus software. Turn off any antivirus or firewall programs because these might block VPN connections.
5- Make Sure You Have the Correct Ports Opened. A certain port may be blocked by your service provider. To check if the necessary ports are open for a VPN, try adjusting your default port settings. For NordVPN to function, your routers must be set to allow traffic on ports 1194 UDP and 443 TCP.
6- Contact Customer Service. Contact customer service and let them know your problems if the aforementioned approaches don’t work. You can contact NordVPN’s live chat support at any time because it is open 24/7.